The Ultimate Guide to Curing Cannabis in a Commercial Grow Operation

In this article, we take a closer look at curing cannabis to discover all the process that goes into it, including the initial drying stage. 

How a Commercial Grow Operation Cures Cannabis for the Best Results 

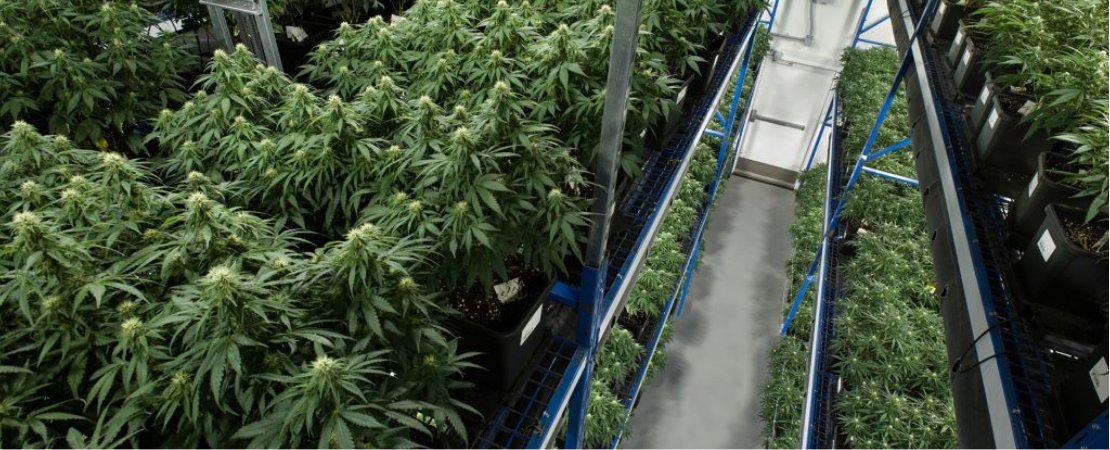
Optimizing your cannabis grow operation doesn’t just stop at installing a state-of-the-art cannabis indoor grow system.

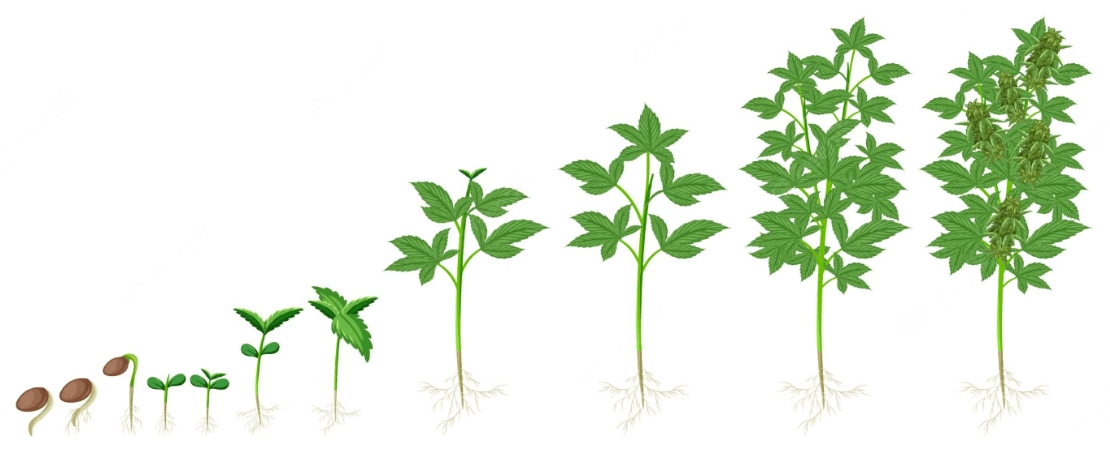
After exponentially increasing your cannabis harvest thanks to vertical growing racks, properly drying and curing cannabis will lead to a superior cannabis product that will pull you ahead of the competition.

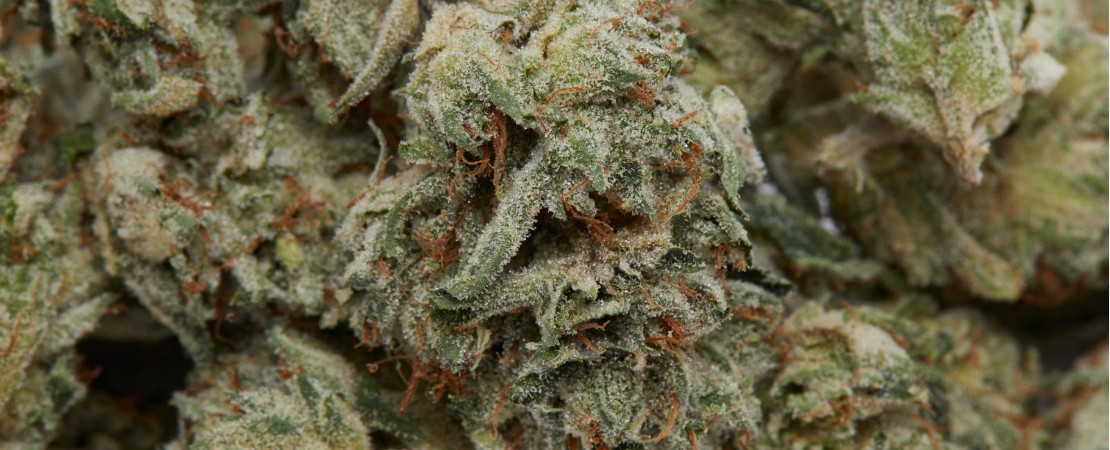
When cannabis is properly dried and cured, the process leads to an accentuation of flavors thanks to the preservation of terpenes and cannabinoids. 

That’s not all. Drying and curing cannabis will also lead to a generally improved smoking experience thanks to the eliminated chlorophyll, which makes buds burn unevenly and taste too green.

But before getting into the meat and bones of drying and curing cannabis, it’s great to clear out confusing terms immediately.

Though curing cannabis and drying cannabis are used interchangeably by cannabis growers of all levels, they refer to very distinct processes.

After cannabis has undergone a drying process to remove most of its moisture, it then undergoes a curing process to help it stay fresh for longer while preserving its moisture, flavors, and potency.

In this article, we take a closer look at curing cannabis to discover all the process that goes into it, including the initial drying stage. 

We’ll dive into the step-by-step process of cannabis curing and highlight the temperature, humidity, and light requirements to cure cannabis correctly.

Drying cannabis involves removing about 75% of the plant's moisture content.

Drying Cannabis

Drying cannabis involves removing about 75% of the plant’s moisture content. The process consists of putting cannabis in an environmentally controlled room for about two to seven days.

Methods of Drying Cannabis

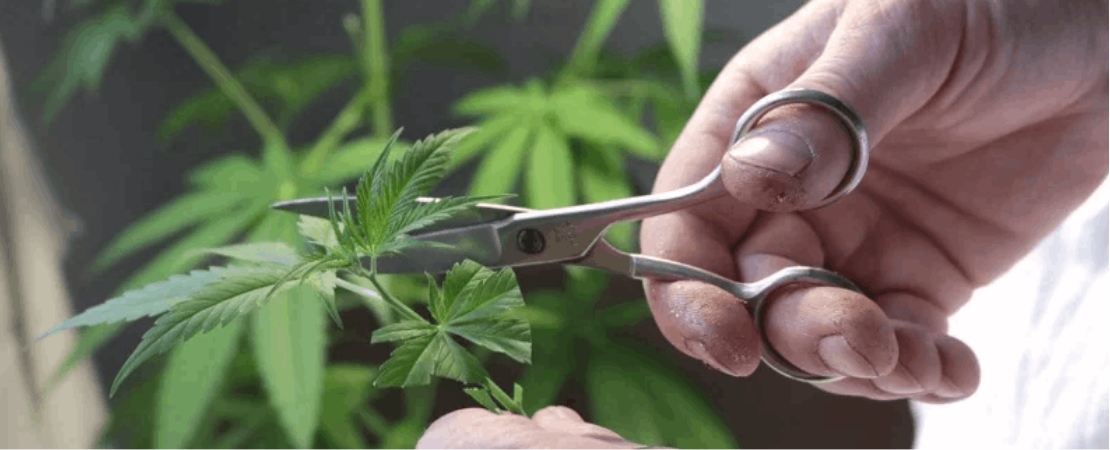
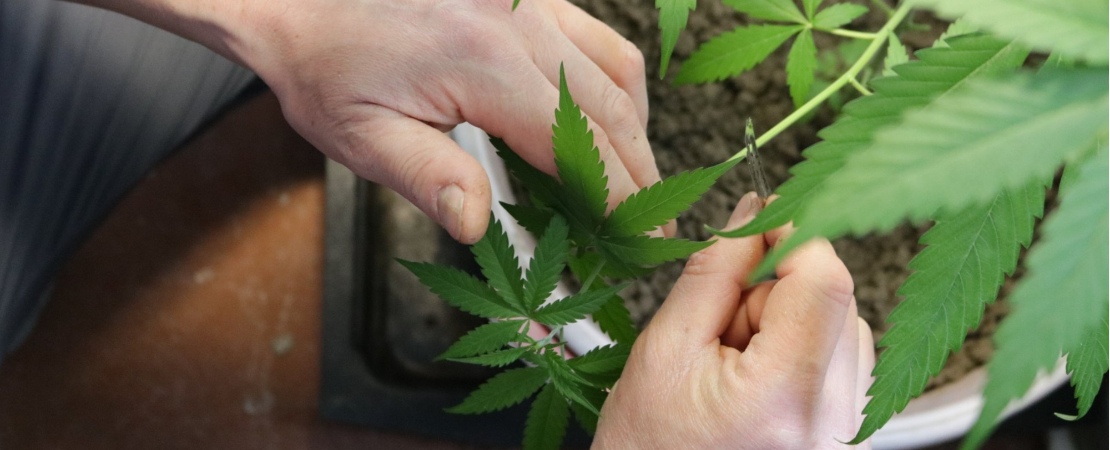
Before cannabis is dried, it undergoes an initial process that involves removing large fan leaves.

In your dry room, you can either choose to hang dry cannabis or spread it out on a flat rack. 
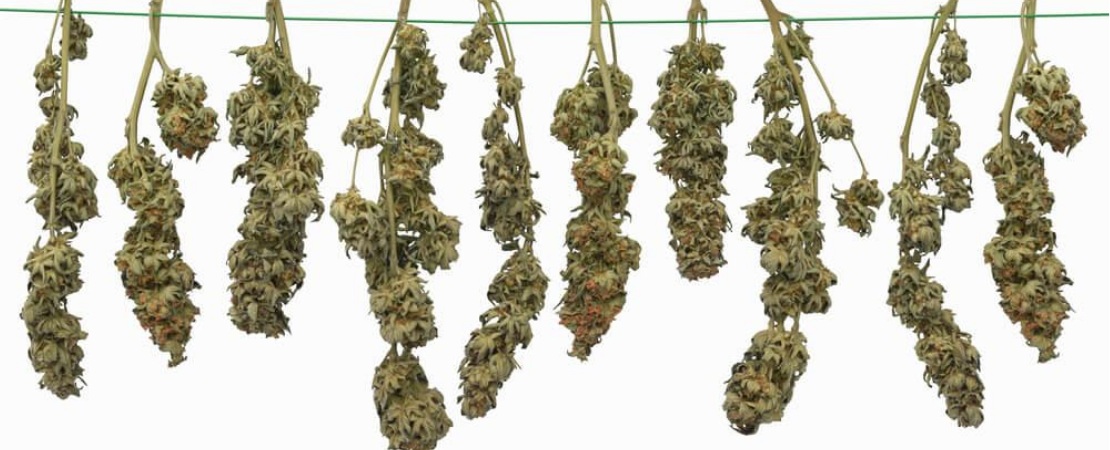
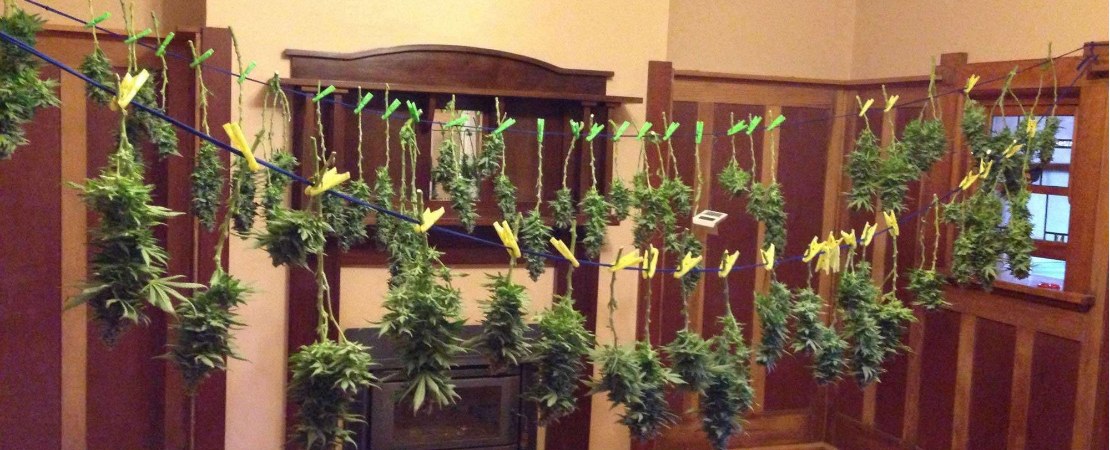
The hanging method involves hanging the whole cannabis plant or large branches on a line or hanger.

Hang Method

The hanging method involves hanging the whole cannabis plant or large branches on a line or hanger.

After two days, you can perform a dry test by bending a cannabis branch. A snap would mean the plant is adequately dry.

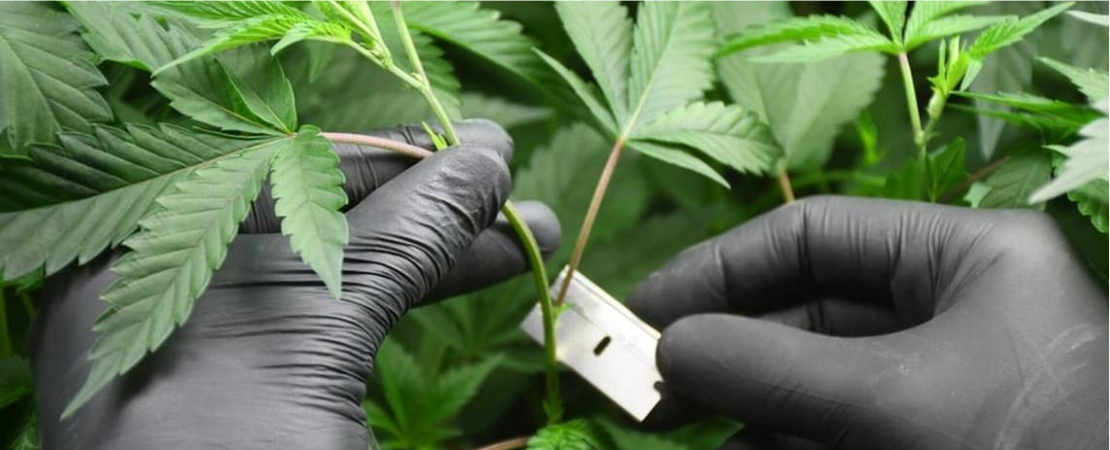
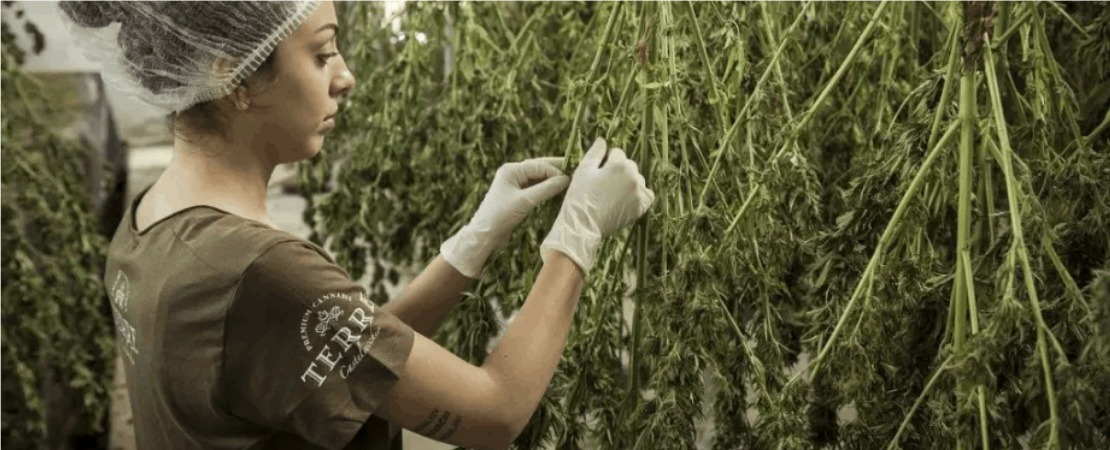
Once the cannabis is adequately dry, dry trimming separates unwanted plant material from the cannabis.

Some cannabis growers prefer the hang drying method as it prevents deformation and flattening of buds during the drying process.

It’s important to note that this method will mean your cannabis plant will take longer to dry due to the presence of more vegetative material.

Also, since the hanging method involves trimming the plant after it dries, it would mean more space is needed. 
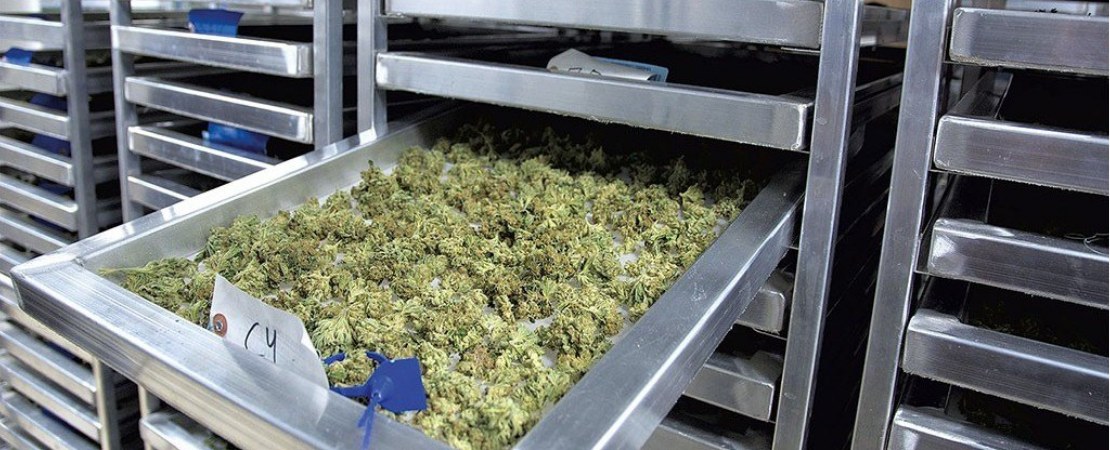
With many trimmed individual buds, the most convenient way to dry them would be on a flat rack.

Flat Rack Method

Choosing to wet-trim your buds will mean less plant matter, less drying space, and less drying time.

With many trimmed individual buds, the most convenient way to dry them would be on a flat rack.

Such racks are made of mesh, and they have multiple vertical layers. The mesh allows for excellent airflow, while the vertical layers will enable you to stack more trimmed buds and save up on space.

The dry test on the trimmed buds will be a bit different. After two or three days, gently squeeze the bud. If it’s too wet, it needs more time to dry.

Whether you prefer to rack dry or hang dry your cannabis, you'll need to set the plant up in a room optimized for drying.

How to Set up a Drying Room for Perfectly Drying Cannabis

Whether you prefer to rack dry or hang dry your cannabis, you’ll need to set the plant up in a room optimized for drying.

For the best result, you’ll need to optimize the temperature, humidity, and light in the room.

It would be best to work with a small room exclusively dedicated to drying as it can be hard to control the humidity and temperature of a big room.

Cannabis Drying Room Equipment

  • Hygrometer to measure temperature and humidity
  • Fan
  • AC  (optional)
  • Dehumidifier (optional)
  • Tabletop caster units

Cannabis Drying Conditions

A good drying room will need a humidity range of 55-65% and a temperature range of 60-70°F. A hygrometer can come in handy to help you monitor both these values.

You can use a dehumidifier or an AC to lower humidity as needed.

A small fan at low speed is excellent for ensuring continuous air circulation.

To speed up the drying process, you can drop the humidity to 50% and increase the temperature to 75°F.

You can choose to have your drying room dark or use LEDs or green fluorescent lights for light requirements. UV light can degrade cannabinoids and terpenes in cannabis.

Moreover, with our tabletop caster units you can hang or flat dry your cannabis plants with ease. The vertical system gives you both mobility and added capacity to dry your plants.

The curing cannabis process aims at redistributing and locking moisture throughout the bud to preserve aromatic flavors and potency.

Curing Cannabis

As mentioned earlier, the aim of drying is not to eliminate all the moisture content from cannabis.

After the initial drying process,  cannabis will appear dry outside but some moisture will still be retained within the bud.

The curing process aims at redistributing and locking moisture throughout the bud to preserve aromatic flavors and potency.

The process takes two weeks to one month and involves sealing cannabis in an airtight container at a humidity of 55 to 65% and temperatures of 64°F – 70°F.

Importance of Curing Weed

As cannabis cures, moisture continuously moves from the center to the outside of the buds. Also, chlorophyll continues to break down, removing the vegetable taste of cannabis.

Additionally, the process preserves the smell, flavor, and potency of the cannabis buds as Terpenes—which are aromatic compounds—are sensitive and quickly degrade if the proper curing measure is not taken.

Curing cannabis increases its life span exponentially, preventing molding, potency, and flavor loss.

Curing cannabis increases its life span exponentially, preventing molding, potency, and flavor loss.

Equipment You Need to Cure Cannabis
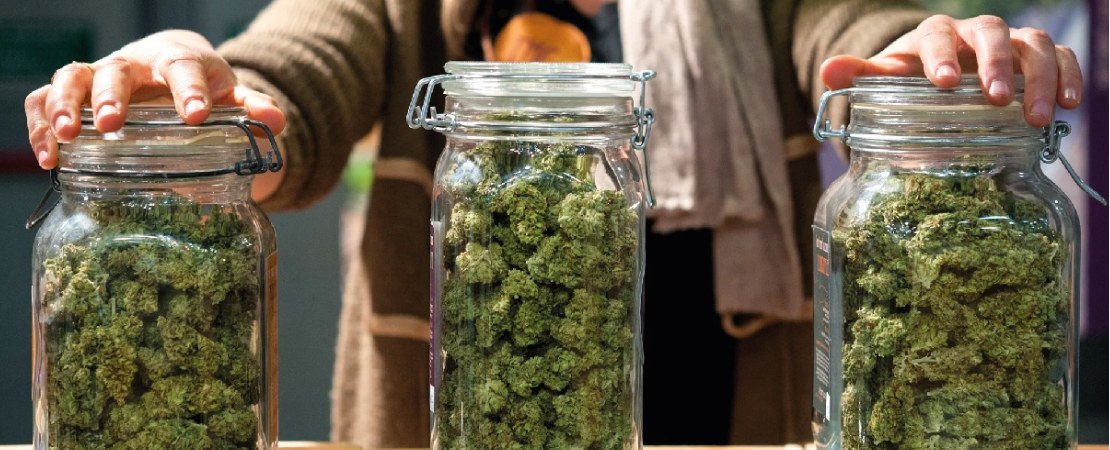
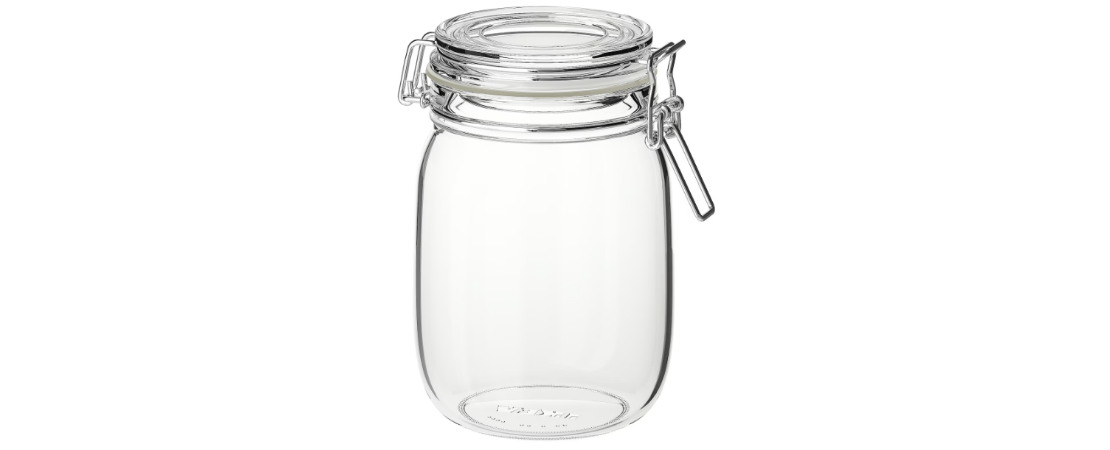
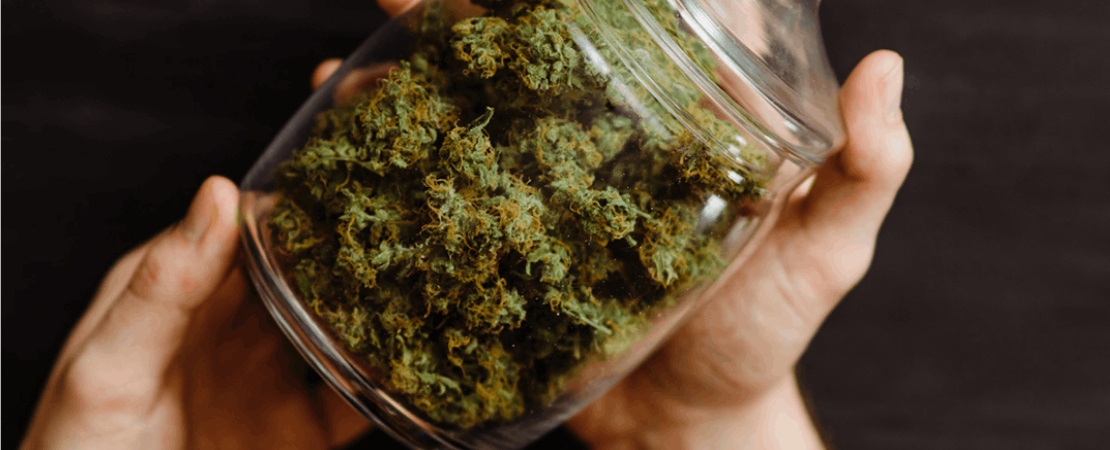
  • Airtight jars
  • Hygrometer
  • Humidification pods

Glass, ceramic, metal, and wood vessels are ideal. On the other hand, plastic bags and containers are unsuitable as they will affect the taste of the cannabis and allow in oxygen.

Ideally, each container needs a hygrometer to measure the ideal conditions. A humidification pod can come in handy to ensure that the perfect humidity is met in each container.

The Step-By-Step Process of Curing Cannabis

You must pack the buds loosely and avoid compacting the container to allow for proper airflow when needed.

Curing Cannabis Step 1: Pack Your Buds in an Airtight Container.

You must pack the buds loosely and avoid compacting the container to allow for proper airflow when needed.

The airtight container should then be stored in a cool dark place away from direct sunlight.

After two days, the buds will become soft as moisture rehydrates them.

If this doesn’t happen, it means you overdried your buds during the drying stage. To solve this, add a humidification pod to the container to add more moisture to the buds.

If the buds did not dry adequately and appear wet before the curing begins, leave the container lid open for 24 hours so the buds can dry up a bit.

Curing Cannabis Step 2: Burp Your Buds.

During the next week of the curing process, you’ll need to burp your buds once or twice daily. Burping involves opening the sealed cannabis container for a few minutes to allow oxygen and release moisture.

After the first week, you can reduce the frequency of burping to twice or thrice a week.

When burping, if you notice an unpleasant ammonia odor, it means bacteria are consuming the buds. This can lead to the rotting of the cannabis and mold formation. To avoid this, leave the lid open for 24 hours.

After two to four weeks, your cannabis should be appropriately cured to preserve all the flavors, potency, and aromas.

Curing Cannabis Step 3: Wait for the Buds to Cure

After two to four weeks, your cannabis should be appropriately cured to preserve all the flavors, potency, and aromas. Properly cured buds can stay optimal for up to two years if stored correctly.

The ideal storage location for your cured buds should be a cool dark place free from moisture and oxygen.

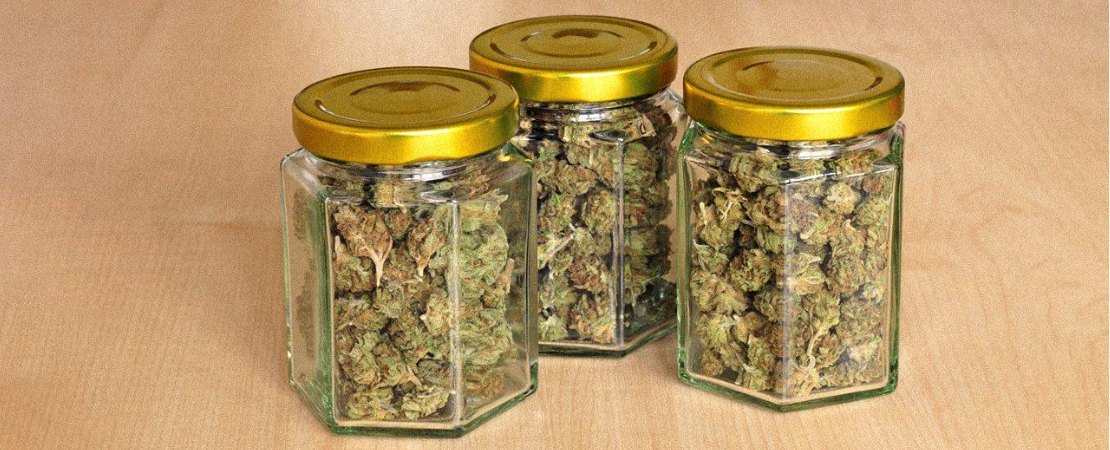
Curing Cannabis Step 4: Properly Store Your Buds

The ideal storage location for your cured buds should be a cool dark place free from moisture and oxygen.

A vacuum-sealed glass jar should work fine. A hygrometer can help you monitor temperature and humidity, while a humidification pod can enable you to control humidity in the storage container.

Importance of Maintaining Optimal Conditions During Storage

  • Light

Even though short-term exposure to UV light won’t significantly affect the quality of your cannabis, long-term exposure will lead to the gradual degradation of cannabinoids and terpenes in the cannabis plant.

  • Humidity

The ideal humidity for storing cannabis is 55-65% relative humidity. Higher humidity levels will encourage the growth of mold and mildew, while lower humidity will lead to the degradation of essential plant materials.

  • Temperature

The high temperature will lead to the breakdown of a critical cannabinoid called THCA.

Continuous exposure to high temperatures will cause THCA to break down into THC and CBN. CBN is a non-psychoactive cannabinoid that can cause tiredness and headaches when smoked.

For a commercial cannabis farmer looking to expand your business and double or triple your income, an innovative solution like a cannabis vertical growing system will suit your business needs.

Elevate Your Commercial Grow Op Utilizing Indoor Growing Systems

For a commercial cannabis farmer looking to expand your business and double or triple your income, an innovative solution like a cannabis vertical growing system will suit your business needs.

At MMI Agriculture, we specialize in installing cannabis vertical grow systems such as our versatile vertical grow racks and mobile carriages. No matter your indoor space, we have a team of specialists who will customize floor plans to maximize your grow space.

We also have an installation team all over America to ensure your systems are fitted flawlessly and running smoothly. 

Both our labor and equipment come with a ten years warranty to guarantee reliable quality when you choose to work with us.

Want to learn more about our commercial indoor growing systems? Contact us today. 

A Step-By-Step Process on How to Clone Cannabis Plants

In this article, we'll dive into the step-by-step process of how to clone a cannabis plant & will discuss the benefits of cloning cannabis.

How To Clone A Cannabis Plant; The Cheat Sheet To Successful Cannabis Cloning

The demand for cannabis for research, medical, and recreational use has skyrocketed thanks to the ongoing legalization in different states.

Currently, the cannabis market is valued north of USD 15 Billion, with the number expected to compound annually at a rate of 14.9%.

With commercial cannabis growers scrambling to increase their yields to meet these growing demands, you can pull ahead of the competition by installing vertical grow racks.

Another way to stay ahead of the competition and cut weeks off your grow time is to clone your cannabis plants. Cloning your cannabis ensures only the most desired female plants with the ideal appearance, smell, and effects are propagated.

The alternative would be to buy feminized seeds, which can be expensive, especially for large-scale cannabis growers.

Another option would be to grow your cannabis from seeds. This is not ideal for a commercial grower as the seed will take longer, and your overall yield will be reduced thanks to poorly developed plants and sexing.

Sexing cannabis involves getting rid of male cannabis plants during the pre-flower stage to prevent fertilization of the female plants.

Since cannabis clones are a genetic replica of the mother plant, you’re assured of the quality and yield of the cloned plants.

In this article, we’ll dive into the step-by-step process of how to clone a cannabis plant. We’ll discuss the best time to clone cannabis plants and highlight the benefits of cloning cannabis.

Before getting into how to clone a cannabis plant, let's lay some groundwork and define a cannabis clone.

What Is a Cannabis Clone?

Before getting into how to clone a cannabis plant, let’s lay some groundwork and define a cannabis clone.

A cannabis clone is a branch or stems cut or snipped from a growing cannabis plant. Usually, this branch or stem cutting has the same genetic makeup as the mother plant from which it was cut. As a result, you’re guaranteed the same high-quality traits and yields you have come to expect from the mother plant.

A typical clone is about four to six inches. After snipping it from the mother plant, you can place it in a growing medium, let it develop root, then transfer it to the main growing area.

Cannabis clones usually require precise humidity and temperature conditions to develop roots and grow properly. For this reason, an indoor growing system may be the ideal setup to grow your cloned crops.

As you get to understand how to clone a cannabis plant you'll appreciate how cloning your cannabis from female plants will help cut back on your overhead costs. 

Benefits of Cloning Cannabis Plants for Indoor Cultivators

Cloning is an ideal practice for commercial growers because of its numerous benefits. For one, using cannabis clones instead of seeds can cut over a month from your growth period. Usually, seeds will need time to germinate, but once clones develop roots, they can continue to grow with vigor as a typical vegetative cannabis plant.

Another glaring benefit of propagating clones is that they provide security. Cannabis clones remove the guesswork from cannabis cultivation. Since clones are a genetic replica of the mother plant, you’ll know the yield, appearance, smell, and effects of your cannabis harvest.

You also won’t risk growing poorly developed seeds and male cannabis plants that will waste your valuable grow space.

As you get to understand how to clone a cannabis plant you’ll appreciate how cloning your cannabis from female plants will help cut back on your overhead costs. 

Cloning cannabis is a straightforward process requiring standard farming equipment you already own. With this step-by-step process of how to clone a cannabis plant, you’ll grow quality cannabis in no time.

While the details of how to clone a cannabis plant are fairly easy to master, it's also important to learn how to care for your clones, so they grow into well-nourished and disease-free cannabis plants.

A Step-By-Step Process of How to Clone Cannabis Plants

While the details of how to clone a cannabis plant are fairly easy to master, it’s also important to learn how to care for your clones, so they grow into well-nourished and disease-free cannabis plants.

Such care includes using sterilized cutting equipment, putting your clone in the right growing medium, providing the best condition, and providing the right hormones for the roots to develop.

What You Need to Clone a Cannabis Plant

  • Scissors: Ideal for cutting stems or branches off the mother plant
  • Razor: Ideal for trimming down the cuts
  • Rooting Setup (tray): To house the cuts as they develop roots
  • Rooting Hormone: To encourage root development

How to Clone a Cannabis Plant Step 1: Choose an Ideal Mother Plant

The ideal mother plant from which the clone is taken should be:

  • Female 
  • Healthy
  • Sturdy
  • At least four to six months old or two months into the vegetative cycle (this is the best time to clone cannabis plants)

Don’t take clones off a flowering plant, as you risk propagating hermaphrodite cannabis plants.

Next, you must carefully observe the plant to note the appropriate regions to make your cuts. The best place to make your cut is above the nodes so the plant can grow after the cuts.

How to Clone a Cannabis Plant Step 2: Cut the Right Branch From the Mother Plant

Next, you must carefully observe the plant to note the appropriate regions to make your cuts. The best place to make your cut is above the nodes so the plant can grow after the cuts.

Nodes are points of intersection where the branch and stem meet or where a sub-branch grows from a main branch.

Pick a healthy long branch at least two nodes above the point you want to cut. You can use scissors to snip this branch off the main cannabis plant.

Then use a razor to cut below the bottom node at an angle of 45 degrees to increase the surface area for root formation. This is a crucial step in how to clone a cannabis plant for maximum growth success.

How to Clone a Cannabis Plant Step 3: Prepare the Cut (Clone) For Rooting

Immediately after cutting your clones, experts advise coating the cut region with a rooting hormone like aloe powder or cloneX gel. This will promote quick and healthy root formation.

After this, you can put your clones in a rooting medium soaked in water and nutrients. Some effective rooting mediums include rooting cubes, Rockwool, peat moss, and foam.

Typically, the rooting medium will sit on a water-holding tray such as this one. The advantage of this grid drainage tray is it ensures each clone gets the appropriate amount of water and nutrients.

Once your clone is set up in the ideal growing medium, set the perfect conditions for it to thrive.

How to Clone a Cannabis Plant Step 4: Provide the Ideal Condition for Growth

Once your clone is set up in the ideal growing medium, set the perfect conditions for it to thrive. For the first two days, the clones will need humidity of 95 to 100 percent and then a subsequent humidity of 80 to 85 percent until the plants are ready for transplanting.

To further encourage the roots to shoot, warm temperatures of 24-27 °C are essential.

The clones will also need the right amount of light to grow properly. Natural light is too powerful and, therefore, not ideal. Artificial LED or T5 light for 18 to 24 hours a day will accelerate the growing speed of the roots.

For water requirements, you’ll need to gently spray water on the clone’s leaves and the growing medium until it’s moist, not soggy.

How to Clone a Cannabis Plant Step 5: Monitor and Care For Your Clones

If you notice dead clones, remove them from the healthy bunch to prevent the development and spread of mold. You can also respace the clones after removing dead ones to have more air circulating through the plants.

Some clones will root out quickly, while others will take longer to develop roots. From the third to the 14th day, you’ll notice thick white roots forming at the bottom of the grow medium. This is an indication that the clones are ready for transplanting.

How to Clone a Cannabis Plant Step 6: Transplant the Clones

During the initial stages, cloned cannabis plants usually require a lot of care as the plant is under stress after being separated from the donor plant. During this time, the plant is in a state of homeostasis as it tries to survive and develop its roots. 

But once the plant develops its roots, it can absorb moisture and nutrients. From here on out, the plant will thrive, and you’ll notice signs of top growth as the plant develops new vegetative material.

This indicates that the plant is ready to go to the main growing area. You’ll need to transplant clones into a growing medium of choice, whether Rockwool, Clay Pellets, Oasis Cubes, Starters, Rice Hulls, or Rockwool.

To avoid transplant shock, wear gloves when handling roots and keep the environment sterile.

Here is the step-by-step transplant process on how to clone a cannabis plant;

  • Put your growing medium in your pot, or growing trays
  • Water the growing medium before placing the clone, so the medium doesn’t move around once you put the clone in it
  • Once the water has drained, burrow through the growing medium with your two fingers to create enough space for the clone.
  • Put the clone in the hole and gently pack the growing medium around it

The demand for cannabis is steadily rising. As more states on the east coast legalize the plant, the need for year-round production will only shoot.

Boost Your Cannabis Harvest With Our Vertical Growing Systems

The demand for cannabis is steadily rising. As more states on the east coast legalize the plant, the need for year-round production will only shoot.

Our indoor farming solutions can pair you with the best Vertical Grow Racks, and Mobile Carriages to ensure your indoor farming system is working at optimum capacity.

All our parts and labor carry a 10-year warranty. We also provide additional services including, free design and CAD services, to ensure that your customized racking design maximally utilizes your specific space for the highest return on investment.

Ready to get started on your new farming journey? Request a quote, or Contact us for more information about our innovative cannabis farming solutions.