Effective Indoor Cannabis Growing; The Week-by-Week Checklist
There is a way to grow cannabis year-round without worrying about planting seasons or harsh weather destroying your crops. Indoor cannabis farming is a flexible cultivation method that allows you to plant profitably throughout the year.
Indoor cannabis growing is a delicate process. However, it isn’t rocket science. It’s an achievable “science” with good attention and knowledge.
Whether it’s a home grow or commercial grow, the plants have similar anatomy; hence, most week-by-week steps on how to grow your cannabis indoors should be standard.
What Is Vertical Cannabis Growing?
Vertical cannabis growing is the cultivation of cannabis within an indoor environment on vertically stacked tiers.
As an indoor environment, the plants’ surroundings are created to simulate the outdoor conditions by leveraging controlled environment agriculture technology(CEA).
This necessitates the use of various equipment like
- Irrigation systems. They supply the plants with the water they require while draining wastewater.
- Ventilation systems. They provide good airflow extinguishing stale, humid air and replacing it with fresh oxygen/CO2 rich air. It also prevents mold build-up.
- Controllers/timers. These can include digital units or timers that control the various equipment like lighting and ACs to provide the resources at the required time.
- PH meters. Suitable pH means healthy cannabis plants; thus, measuring the water pH is crucial.
- Thermometer and hygrometer. Cannabis plants need a particular temperature at each growth stage and moderate humidity to avoid mold build-up.
- Vertical grow racks. These high-density growing systems help you utilize every square foot of your growing space with cannabis plants. They include mobile carriages, vertical grow racks, and tabletop caster units.
- Fertigation systems. They provide your plants with fertilizers for healthy growth.
- Hydroponic trays. They provide a house for your plant’s roots.
Indoor cannabis growing brings major advantages such as all-year growing regardless of weather or season, precision farming, high yields, and consistent quality of buds.
Then again, how can you profit from indoor cannabis growing? Here’s all you need to know about cultivating cannabis indoors.
Cannabis Growing Week By-Week Guide
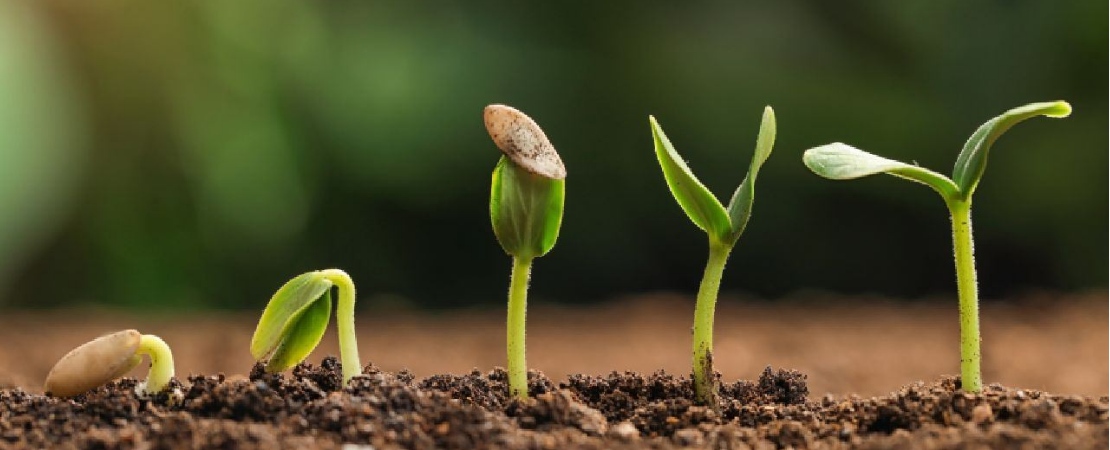
Seed Germination (Week 1- 2)
Acquire some top-grade seeds and soak them in water for not more than 24 hours, or else they’ll drown. Once soaked in the water, watch that the seeds stay submerged. Seeds determined to float within 24 hours aren’t viable and should be discarded.
Once the soaking time lapses, transfer them to rockwool cubes (or any other growing medium for plants).
Be sure to provide all requirements for seed germination:
- Warmth by having your grow lights on (for a 24hr cycle) and maintain temperatures 75F(240C) or higher.
- Water to the base of the growing medium at a pH of about 5.8-6.1
- Ensure complete contact between the seed and growing medium. Also, aim to have the pointed end of the seed directed downwards, as it’s the point from which the root will come out.
Notably, this is the time to start filling your growing journal, noting the progress of your plant’s growth. This is important as you can determine the nutrients needed at each growth stage, among other critical details.
The seedlings should emerge after 8 or 9 days. Please note probing around the growing medium (checking) for shoots before that time can damage the roots.
On the other hand, you can start your cannabis growing using clones extracted from healthy mother plants. Have your clones in humidity domes, and don’t water them till roots emerge.
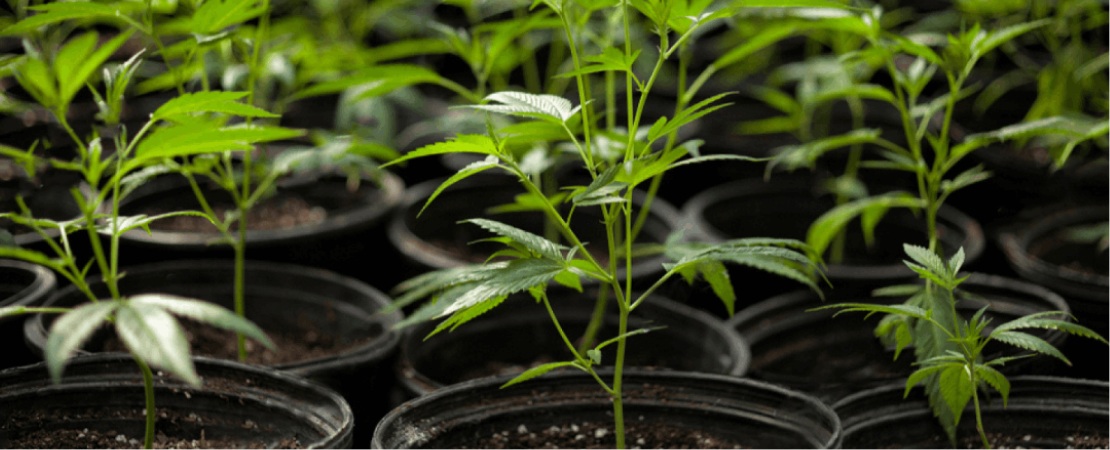
Vegetation Stage (Week 3-5)
Now that your plants are germinated into healthy shoots in your tabletop caster unit. You can move them seamlessly on your caster units from the germination section/ room to your vertical grow racks for transplanting.
Put them on your 1020 or hydroponic trays to help you with good watering and drainage when necessary. Water the plants until roots form.
Also, at this point, you should introduce intense lighting but gradually. Remember to have your LED lighting at least 8 inches above the plant top.
At this stage, you might as well keep the light on for 24 hours cycles; however, others recommend 1.5hrs of lights off within the cycle to give the plants a “rest.”
For a commercial grow, you may need to boost your CO2 levels by incorporating CO2 burners in your indoor grow room. Plants need carbon dioxide(CO2) to make food; increasing the concentration will significantly affect their growth and yields.
Moreover, maintain a temperature of 78F, humidity at 65% in weeks 3-4 and at 60% in week 5, and pH levels at 5.8-6.1.
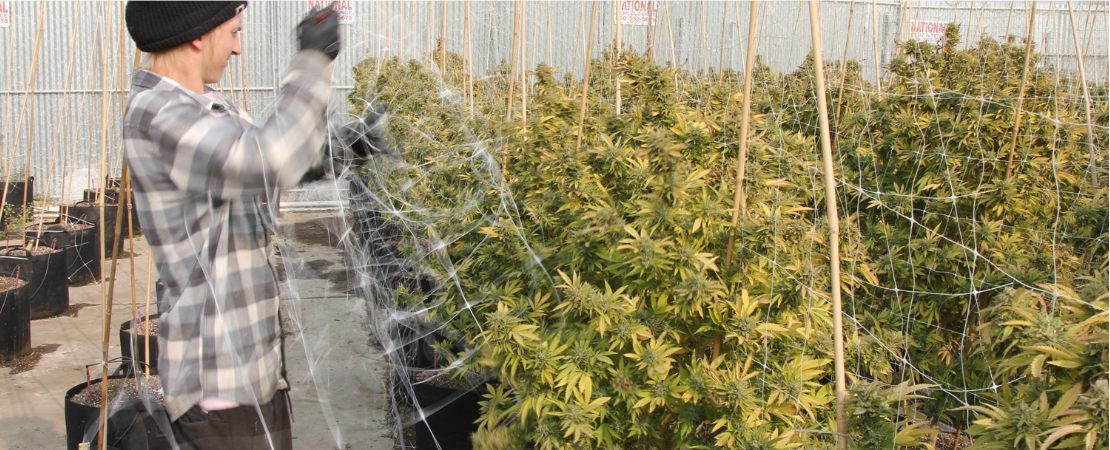
Flowering (Week 6)
If you have customized mobile carriages, you are in luck during the flowering growth stage.
Customized carriages are manufactured with a particular vertical space that will be important at this stage. Why? At this point, the plants are about 12” tall, and with a sizeable vertical space, you can grow them to 16”, where you can start the 12/12 flowering light cycle without worrying about grow space.
The plants double in size fast when you switch them to start flowering. Getting them started on flowering at the right time ensures they aren’t oversize and cumbersome to handle hence maintaining high-quality yields.
Gradually lower your humidity levels in the weeks of your flowering stage: weeks 6-7 at 60%, weeks 7-9 at 55%, week 10 at 50%, week 11 at 45%, and week 12 at 40%.
Also, have the temperature (78F), CO2 levels, and pH constant.
It’s important to note:
- Keep the dark period completely dark till the lights come back on. Seal any gaps light could penetrate through and keep the room locked. Any light leaking into your grow room would slow the flowering process.
- If moving plants to a flowering room, maintain conditions as in the vegetating environment to avoid shocking the plants. Also, consider having the lights off for about 36 hours before starting the 12/12 cycle.
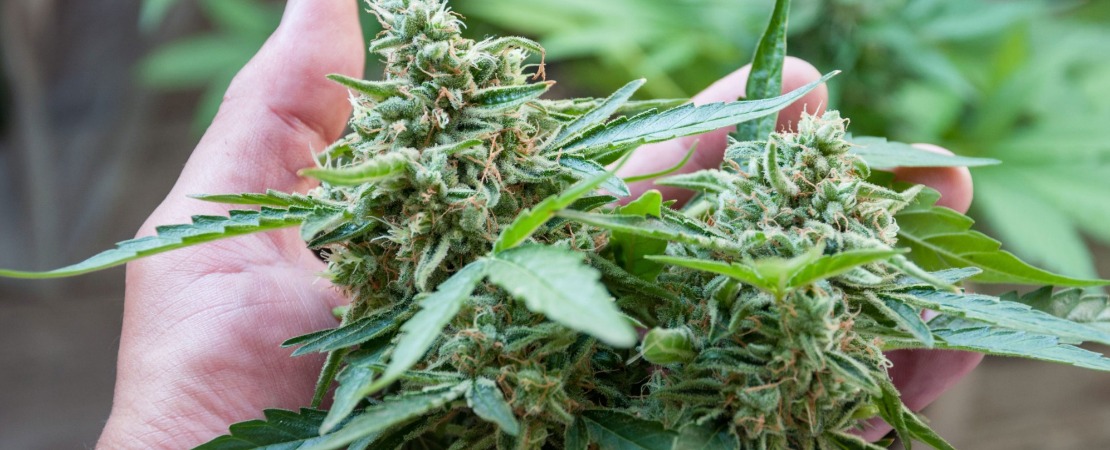
Budding/ Harvesting (Weeks 13-14)
The long wait has ended, and it’s time to prepare and harvest your rich cannabis buds.
At week 13, the aim is to start hardening the buds. Hence it would help if you started lowering the temperatures (to 72F) while tracking the trichome’s progress. The plants may mature diversly, with some getting ready for harvest before others.
It would be best if you lowered the humidity as well to 30%.
Similarly, the plants no longer need to make food; hence you can turn off your CO2 or lower the output for the “late bloomers.”
At week 14, keep lowering the temperature (tp 68F) and humidity (to25%). The aim is to simulate fall weather.
You can determine if the plants are ready for harvest using two methods;
- Pistil Method. Observe the pistil and ensure ⅔ of it has turned to an orange color.
- Trichome Method. Using a strong magnifying lens, observe the trichomes. They should gradually change from a cloudy appearance to amber in color.
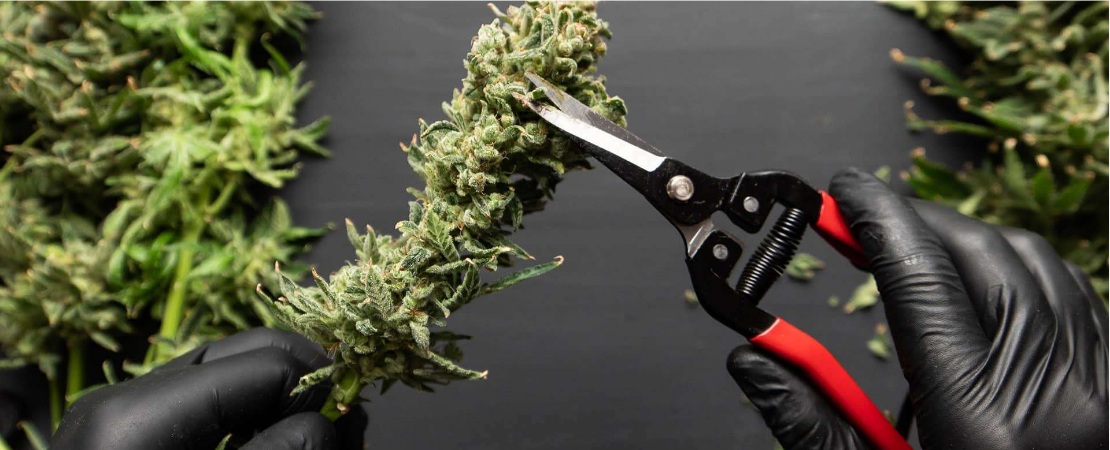
When harvesting, delicately handle the plants as you trim the precious buds.
Avoid damaging the trichomes, as this may reduce the potency of the buds.
The damage is characterized by feeling some stickiness as you handle them.
Finally, dry and cure your trimmed buds and store them properly.

Do Your Indoor Cannabis Growing With MMI Agriculture Vertical Systems
The week-by-week guide is to bring you accustomed to all that pertains to indoor cannabis growing and should not be a replacement for a professional, especially for a commercial cannabis grow.
Moreover, remember to have a growing journal throughout the process, as this ensures you have a guide that works with your equipment and overall grow space.
At MMI Agriculture, we help individuals and companies acquire quality vertical growing equipment for their cannabis grow ops.
We provide and install our premier products, such as vertical grow racks, mobile carriages, and tabletop caster units.
With our experience and durable equipment, you should have a smooth start or transition into vertical cannabis growing. Contact us today for a quote.